

Background
What is LocalStack?
LocalStack is a fully functional local AWS cloud stack that allows developers to emulate AWS services on their local machine, enabling the development and testing of cloud-based applications without requiring a real AWS account or incurring associated costs.
It runs as a single container on laptops or in CI environments, providing a sandboxed environment that replicates AWS services such as S3, Lambda, DynamoDB, SQS, and many others, thereby facilitating rapid prototyping, offline development, and secure testing.
Preface
As I’m diving more into “modern” data engineering, I learned you could make a local AWS setup to experiment with using LocalStack. I found most guides online were from 2 years ago or didn’t work for me, so here’s my short guide to setting up LocalStack and testing AWS. Consider this a personal reference that might help someone else avoid the same trial-and-error I went through.
NOTE: This works for both Windows and macOS
Setup
Prerequisites
Docker Desktop >= v4.54.0
PyCharm >= 2025.3
NOTE: PyCharm makes managing containers and code way smoother
Steps
Start Docker Desktop
Start PyCharm and Create a New Project
Note: uv is now the default package manager. You can use Python 3.13 as the Python interpreter for this guide.
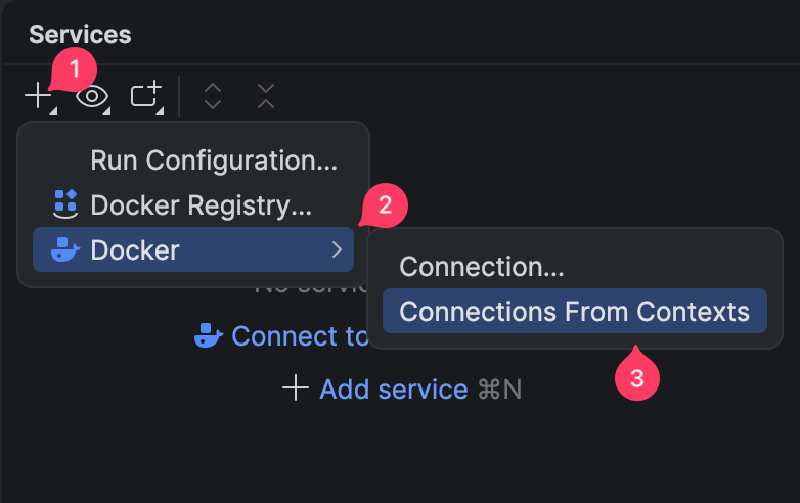
In the PyCharm > Services tab, connect to Docker
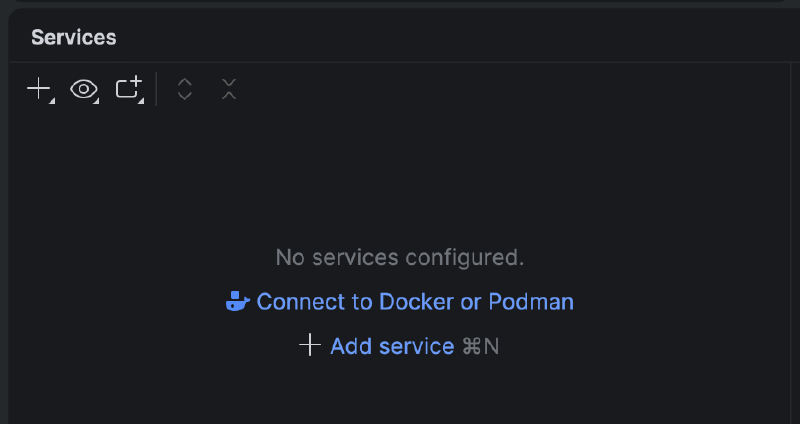
You should be able to click Connect to Docker with the option Detect executable paths automatically checked in the Docker pop-up window and it just works. If not, you can also try this method below and then right-click your Docker service and Connect.
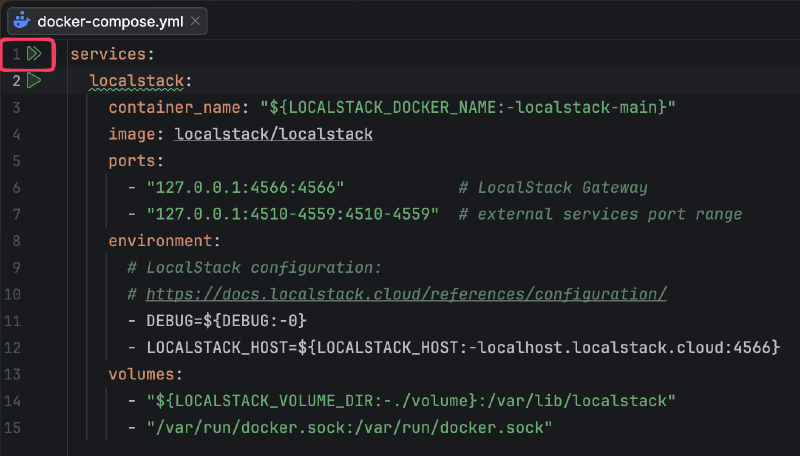
Create a
docker-compose.ymlin the root of your project folder. This was taken from LocalStacks official documentation found here.services: localstack: container_name: "${LOCALSTACK_DOCKER_NAME:-localstack-main}" image: localstack/localstack ports: - "127.0.0.1:4566:4566" # LocalStack Gateway - "127.0.0.1:4510-4559:4510-4559" # external services port range environment: # LocalStack configuration: # https://docs.localstack.cloud/references/configuration/ - DEBUG=${DEBUG:-0} volumes: - "${LOCALSTACK_VOLUME_DIR:-./volume}:/var/lib/localstack" - "/var/run/docker.sock:/var/run/docker.sock"Run docker compose
In the PyCharm > Terminal tab, run
docker-compose upOR
Click the built-in run icon
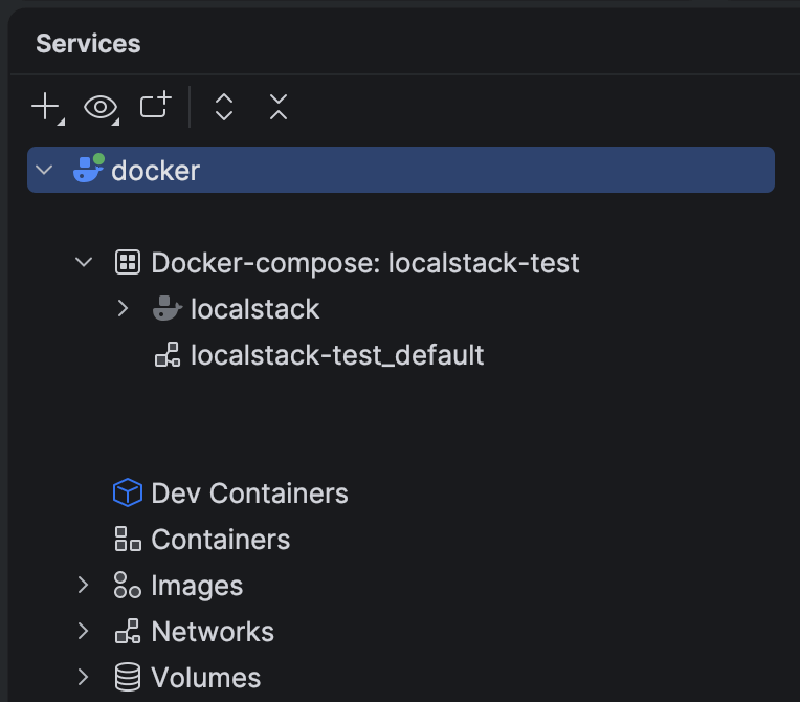
At this point you should see LocalStack running as a container in your PyCharm > Services tab like so:
In the PyCharm > Terminal tab, run
uv add localstack 'awscli-local[ver1]'This will allow you to run the LocalStack CLI and AWS CLI Wrapper for LocalStack in your virtual environment.
NOTE:
In regards to the localstack docker container,I found that in this setup method running
localstack startin the terminal will throw an error that an image already exists. To start the container just navigate to PyCharm > Services tab to right-click and Start.For stopping the container, I found that
localstack stopor navigating to PyCharm > Services tab to right-click and Stop both work.tldr; It’s easiest to Start and Stop the localstack container from the PyCharm > Services tab if you don’t have custom settings applied.
You can now follow along the AWS services tutorials by LocalStack found here. For me, I’ll be playing around with the following and how Python can interact with it.